How to install Linux Mint 20 on a Dell XPS 13 (9310)
31 Oct 2020
The new late-2020 Dell XPS 13 (9310) is one of the first notebooks based on Intel’s new Evo platform with Intel Core ix-11xx series which features the new integrated graphics architecture Iris Xe. Like the older Dell XPS 13 models, also this new one can be ordered preinstalled with Ubuntu Linux. This time, even in Austria! It comes preinstalled with Ubuntu 20.04, which may be already a good fit for many people. In my case, however, I got fond of the Cinnamon desktop and, therefore, I wanted to install Linux Mint on my new workhorse. It turned out to work quite smoothly, also due to the fact, that Ubuntu did a good job providing packages to support the new Intel platform.
Specs of my model:
- Intel(R) Core(TM) i7-1165G7 (12 MB Cache, up to 4,7 GHz)
- 16 GB RAM
- 1 TB M.2-PCIe-NVMe-SSD
- Killer(TM) Wi-Fi 6 AX1650 and Bluetooth 5.1 1
- Non-glare InfinityEdge-Display without touch, 13,4” FHD+ (1.920 x 1.200) and 500 cd/m²
Preparations
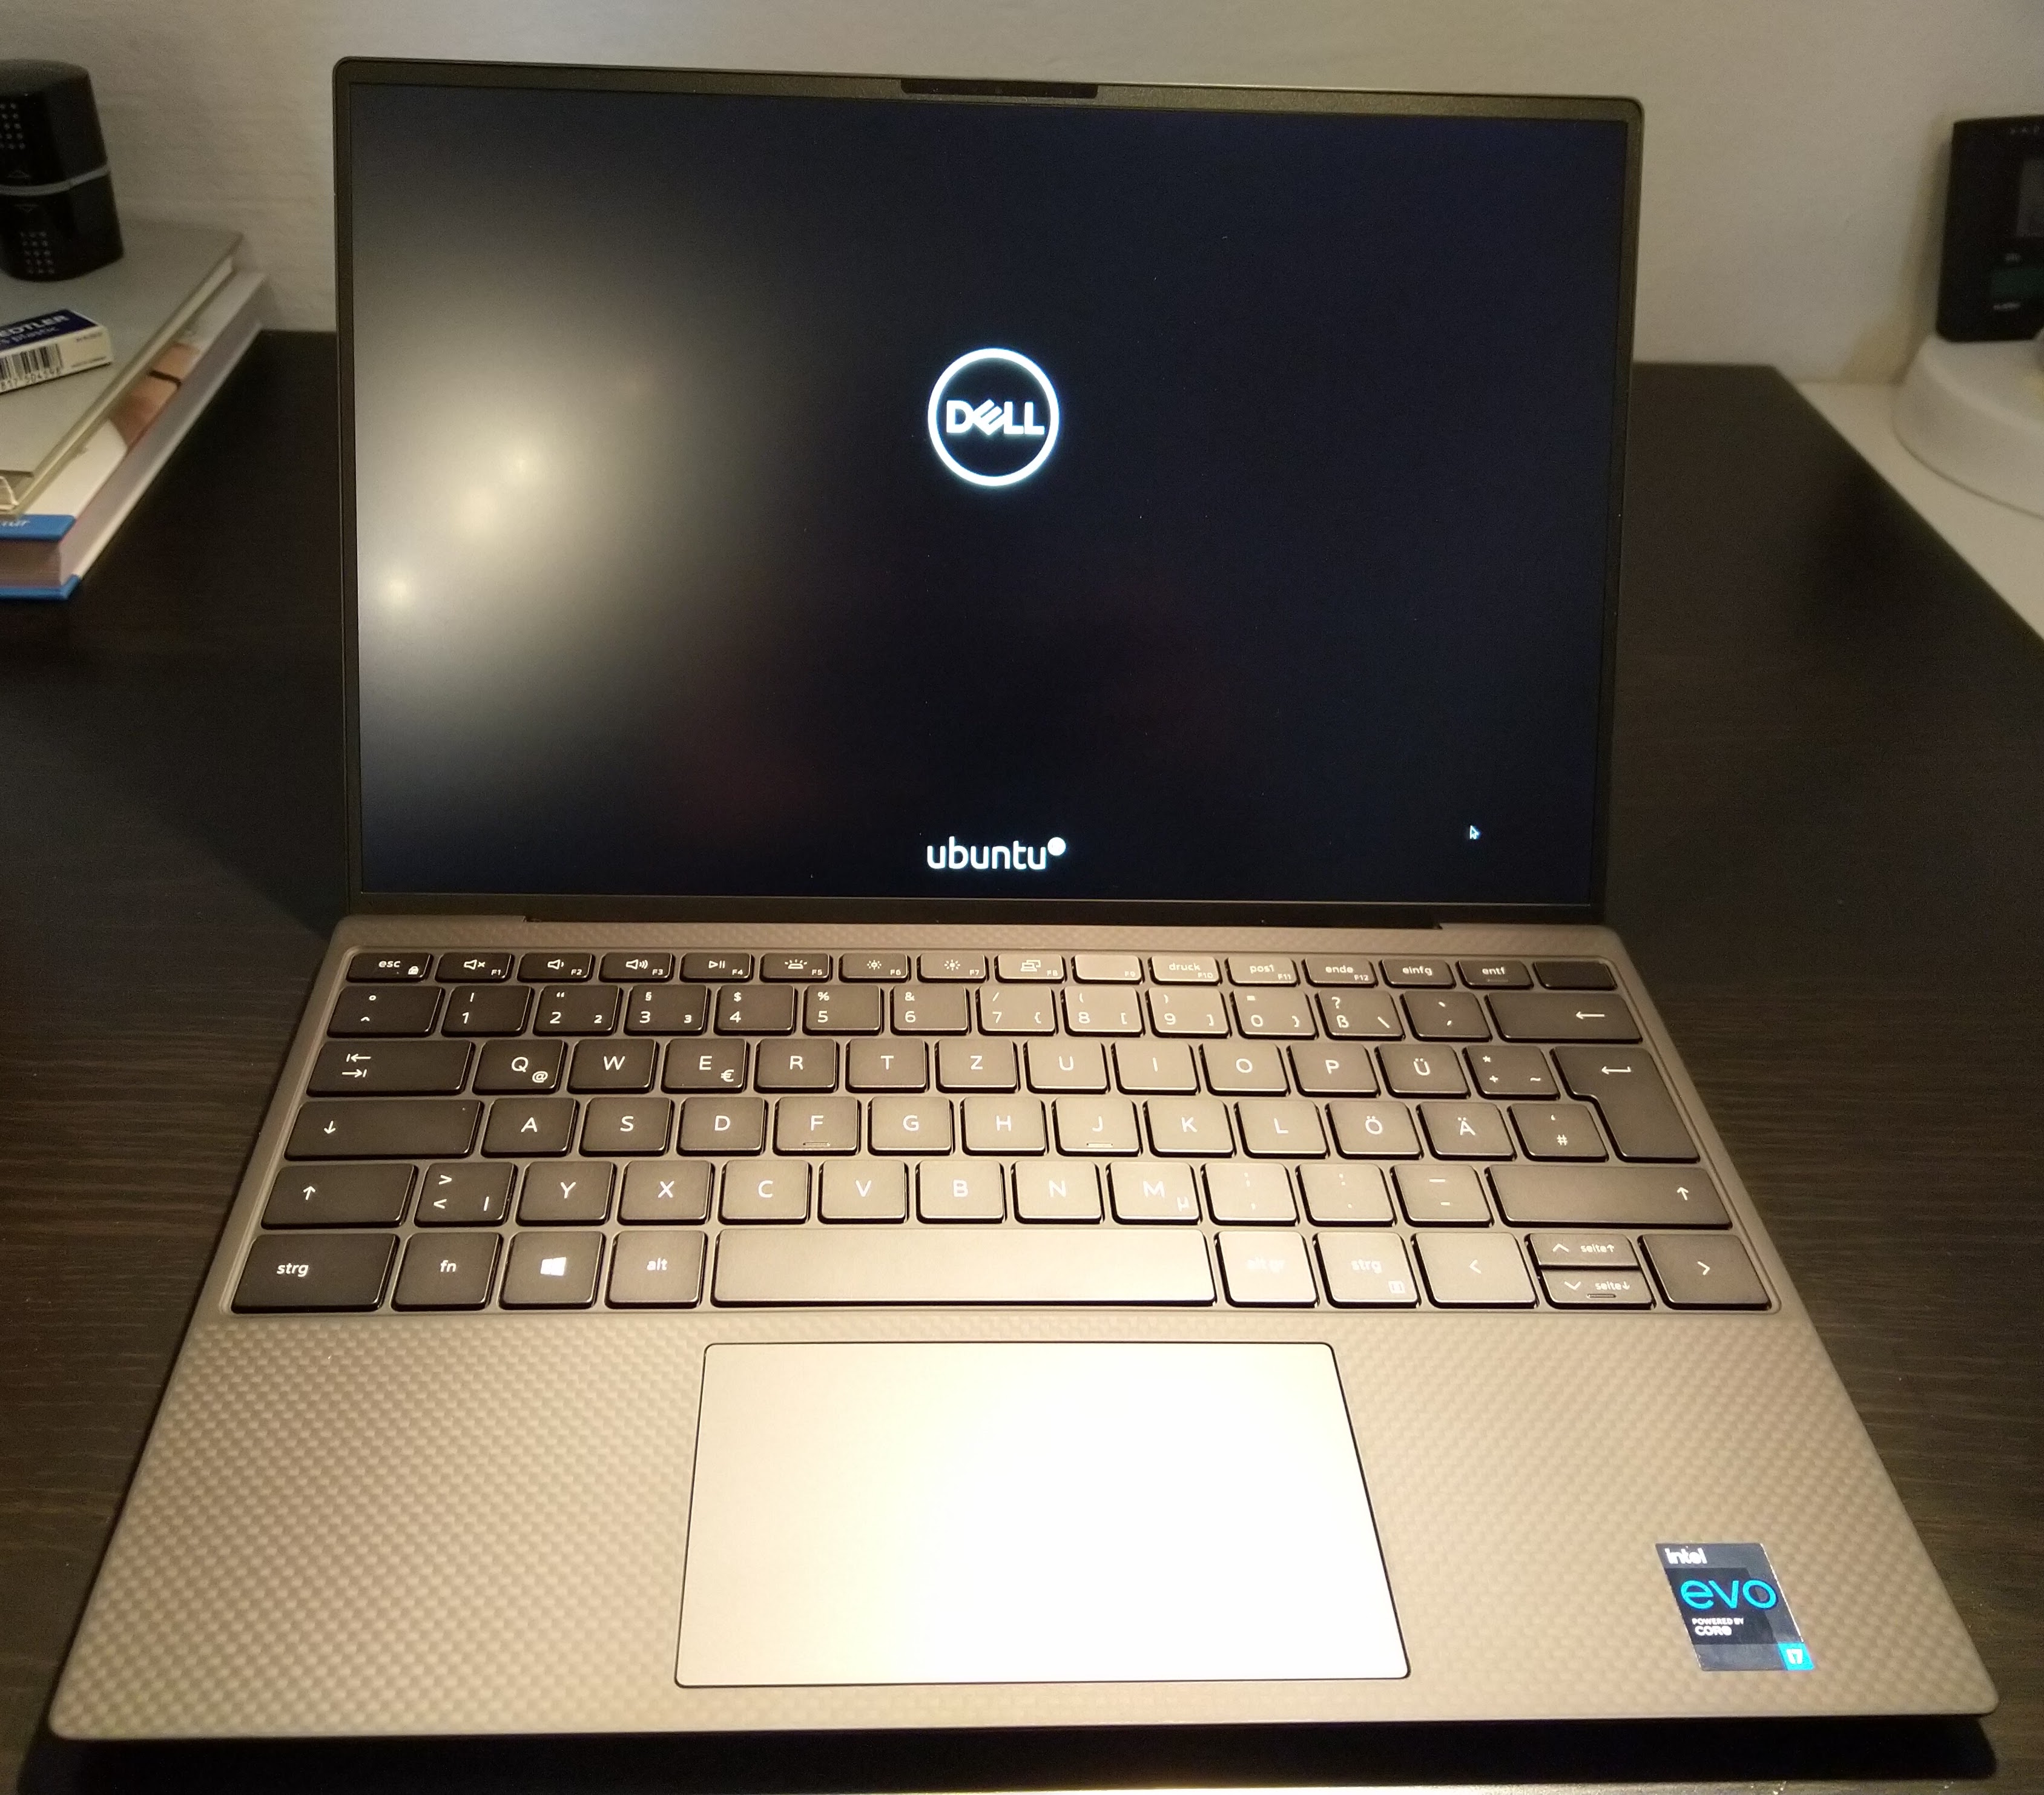
First boot of the Dell XPS 13 (9310) Developer Edition with Ubuntu preinstalled.
Before I went to install Mint 20, I booted up the installed Ubuntu 20.04 and made sure everything was working. The system was pre-configured quite well and after answering questions about my name and the desired user name, I got logged in and it was ready to be used. I made sure wireless lan was working, updated everything to their latest versions and generated the recovery image for the pre-installed Ubuntu via the Dell Recovery application.
In addition, I backed up the directories
- /etc
- /usr/local
- /opt
Especially backing up /etc is useful, because it contains the enabled package repositories, which we are going to use later.
Also downloading the current Linux Mint image and creating a USB flash drive were part of my preparations.
Important is also to go to http://archive.ubuntu.com/ubuntu/pool/main/l/linux-meta-oem-5.6/ and http://archive.ubuntu.com/ubuntu/pool/main/l/linux-firmware/ to download the packages
- linux-headers-oem-20.04_5.6.0.1032.28_amd64.deb
- linux-image-oem-20.04_5.6.0.1032.28_amd64.deb
- linux-oem-20.04_5.6.0.1032.28_amd64.deb
- linux-oem-5.6-headers-5.6.0-1032_5.6.0-1032.33_all.deb
- linux-firmware_1.187.3_all.deb
or their respective latest versions. We are going to need them to get WiFi working.
Installing Linux Mint
Plug in the USB flash drive, if necessary using the adapter to USB-C delivered with your XPS 13, and boot up the laptop. Shortly after pressing the power-on button, keep hammering on the F12 key to get into the boot menu. Select your USB drive and boot up the Linux Mint live system. Then install Linux Mint either by replacing Ubuntu or, as I did, alongside Ubuntu 20.04. During the installation Linux Mint will ask you if you want to install 3rd party multimedia libraries. If you do, you will have to enter a secure boot password which will be asked from you the next time you reboot. Do that and remember the password.
When the installation is finished reboot and you should be, after acknowledging the secure boot changes by entering the password you set during installation, prompted with the Linux Mint login.
Getting WiFi to work and install OEM components
The first step will be to get WIFi to work, because what use is the best laptop if you cannot watch cat videos on YouTube with it?
Now the previously downloaded files come into play: Get the downloaded files onto your laptop, for example via USB flash drive, and open a terminal. Change into the directory were you copied the files to and type
sudo apt install ./linux-*
to install all the packages. When the installation is finished reboot the laptop and when it comes back on you should have wireless lan.
After connecting to your WiFi you should add a few OEM repositories coming from Canonical to enable full support of the new hardware. If you copied the etc directory of your Ubuntu installation, or if you still have the Ubuntu installation on a separate partition, copy the files
- somerville-dla-team-ubuntu-ppa-bionic.list
- focal-oem.list
- oem-somerville-bulbasaur-meta.list
from _your_etc_backup_/apt/sources.list.d/ to /etc/apt/sources.list.d/.
If you do not have the files backed up, no problem, here is their content:
/etc/apt/sources.list.d/somerville-dla-team-ubuntu-ppa-bionic.list:
 deb http://ppa.launchpad.net/somerville-dla-team/ppa/ubuntu bionic main
 # deb-src http://ppa.launchpad.net/somerville-dla-team/ppa/ubuntu bionic main
 # deb-src http://ppa.launchpad.net/somerville-dla-team/ppa/ubuntu bionic main
/etc/apt/sources.list.d/focal-oem.list:
 deb http://oem.archive.canonical.com/ focal oem
 #deb-src http://oem.archive.canonical.com/ focal oem
/etc/apt/sources.list.d/oem-somerville-bulbasaur-meta.list:
 deb http://dell.archive.canonical.com/ focal somerville
 # deb-src http://dell.archive.canonical.com/ focal somerville
 deb http://dell.archive.canonical.com/ focal somerville-bulbasaur
 # deb-src http://dell.archive.canonical.com/ focal somerville-bulbasaur
When you have copied or created the files, type
sudo apt-key adv --keyserver keyserver.ubuntu.com --recv-keys F992900E3BBF9275 F9FDA6BED73CDC22 F9FDA6BED73CDC22 78BD65473CB3BD13
sudo apt-get update
sudo apt-get dist-upgrade
sudo apt-get install ubuntu-oem-keyring oem-somerville-meta oem-somerville-bulbasaur-meta
to install the rest of the OEM packages for your laptop and update everything to the latest version.
For good measures reboot once more and your laptop should be ready to go with Linux Mint 20 and everything, including WiFi and support for the Iris Xe graphics, should now work as it did with the pre-installed Ubuntu 20.04 installation.
Enjoy!
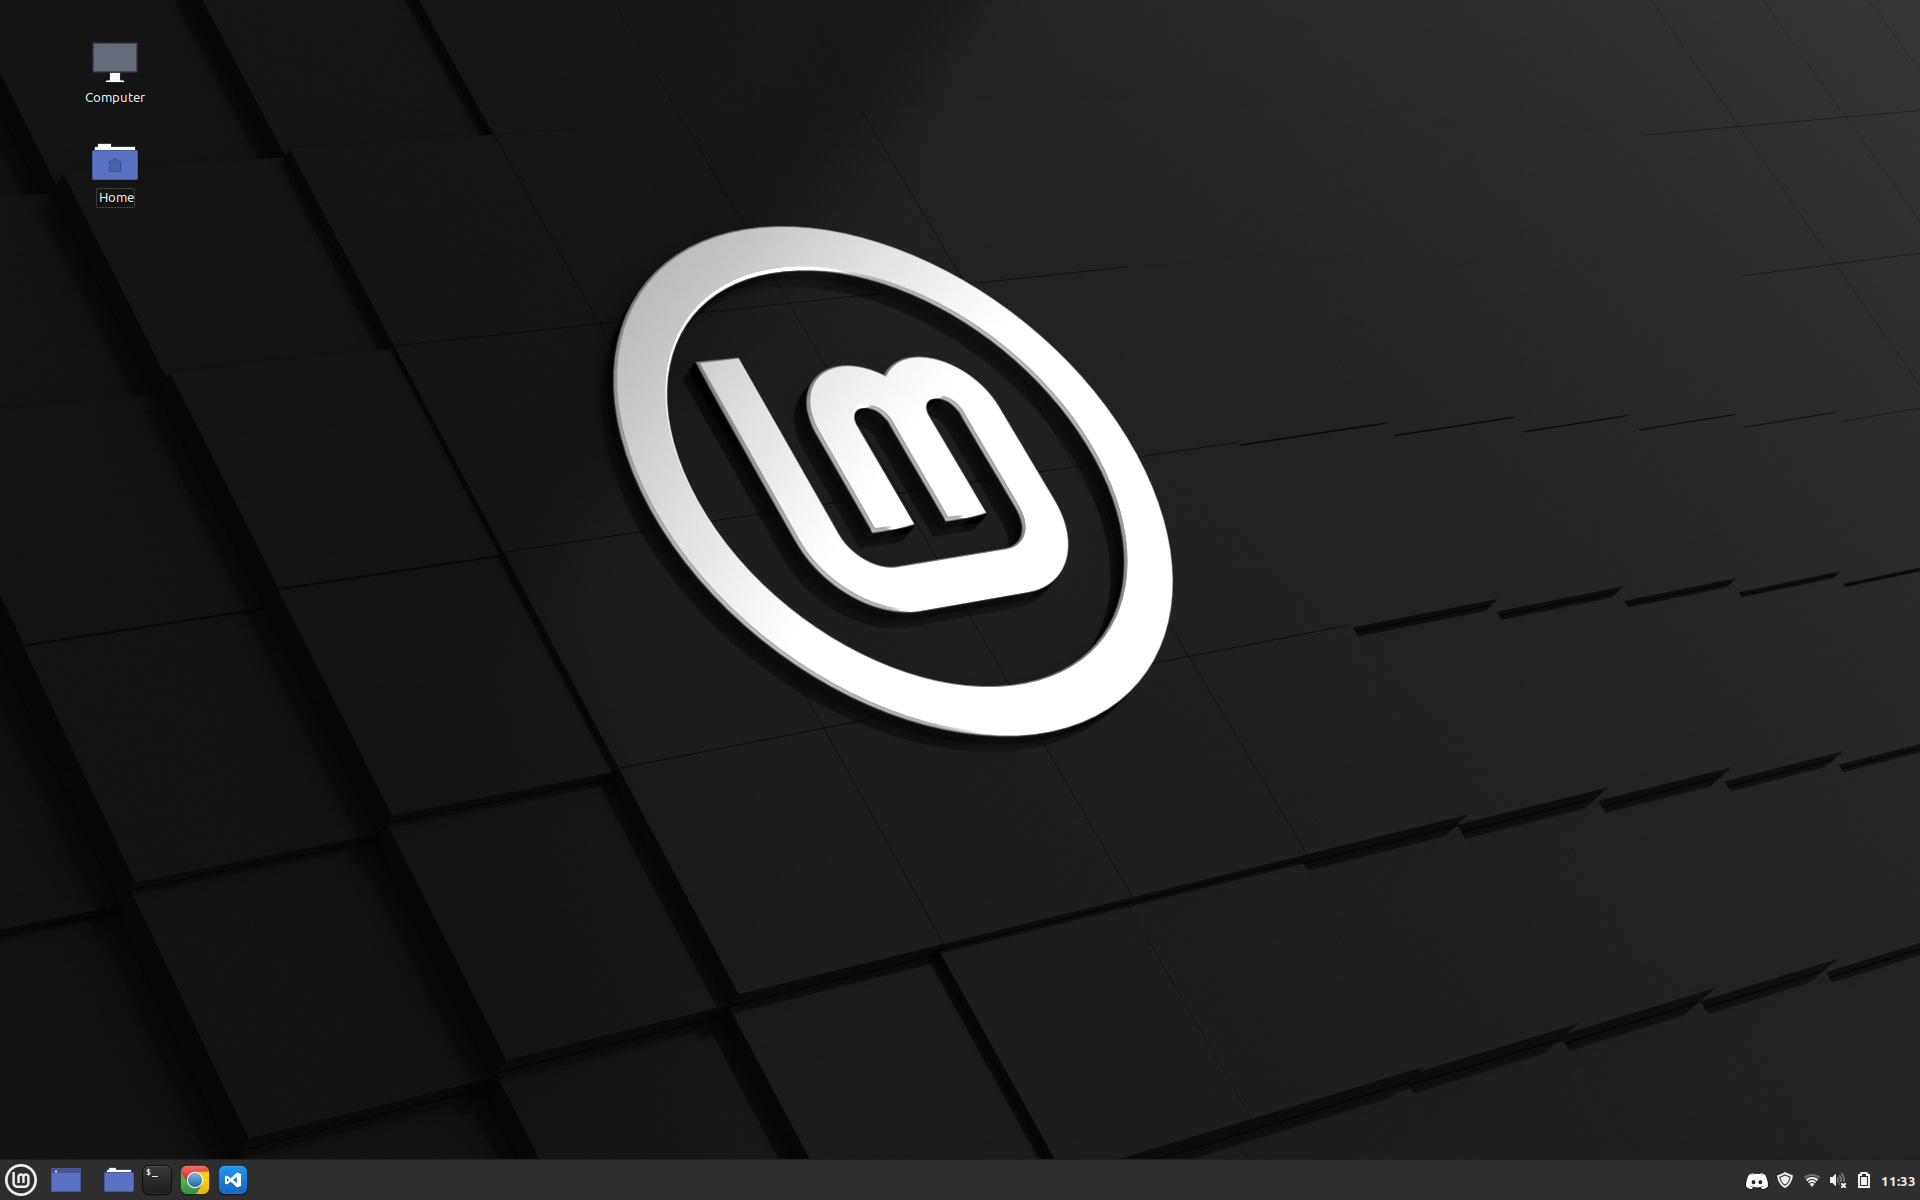
My finished Linux Mint 20 desktop on the Dell XPS 13 (9310).
⇐ Back